Replace basic Volume2, with bigger HDD
1- Remove disk on tray 1 (named Volume1 in this tutorial), reboot
2- Insert the new bigger disk in tray 1
2a- ‘secure erase’ new HDD, reboot
3- Convert volume2 to RAID1. (I’ve not selected SHR, but RAID1), reboot
4- Exchange disks in Tray2 and Tray1, reboot
5- Remove disk in Tray 1, reboot -> Degraded status
6- Issue
Putty:
mdadm –grow –raid-devices=1 –force /dev/md2
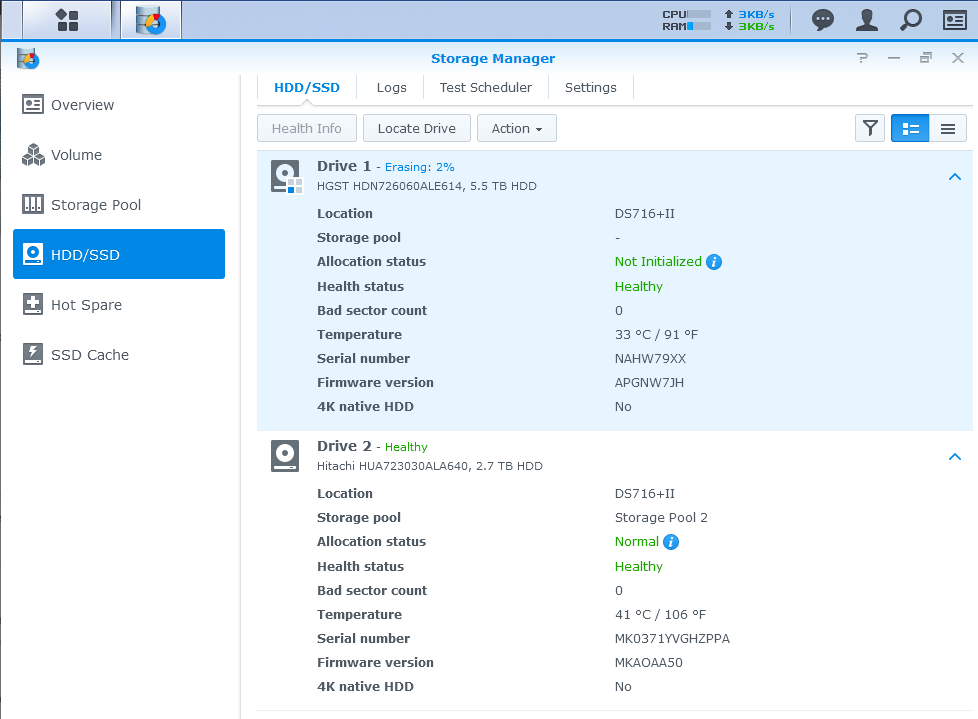
7- Go to DSM Storage manager, HDD manage, you will have the option to extend volume 2 to get the full available space. Do this. Reboot
8- You must here have a Volume2 using the new hard disk, and with the full available space
9- Insert the previous disk Volume1
10- Here all should be fine, you should have Volume2 unchanged, but on your new HDD, with a whole available space
Three additional comments:
1. He replaced both disks (Basic Volumes 1 and 2) in his diskstation by running two times through the instructions by MathieuM68. Therefor he swapped the instructions on disks, volumes and trays accordingly. It works without problems and afterwards the system runs solid and with the same configuration like before, but with larger disk space of course 😉
2. In order to issue the command “mdadm” on the right RAID device (/dev/md?) I used
Putty:
cat /proc/mdstat
which lists all available RAID devices.
3. He could not issue the command “mdadm” directly, but it works with
Putty
sudo mdadm –grow –raid-devices=1 –force /dev/mdX
Source: https://community.synology.com/enu/forum/17/post/78431