DIY µTracer 3+
See more: µTracer 3+ a small but powerful tube-tester / tube curve-tracer
follow my own build here: https://www.mcha.nl/tag/%c2%b5tracer-3/?order=asc
See more: µTracer 3+ a small but powerful tube-tester / tube curve-tracer
follow my own build here: https://www.mcha.nl/tag/%c2%b5tracer-3/?order=asc
https://www.dos4ever.com/uTracer3/uTracer3_pag0.html
Part 1. the GUI installation
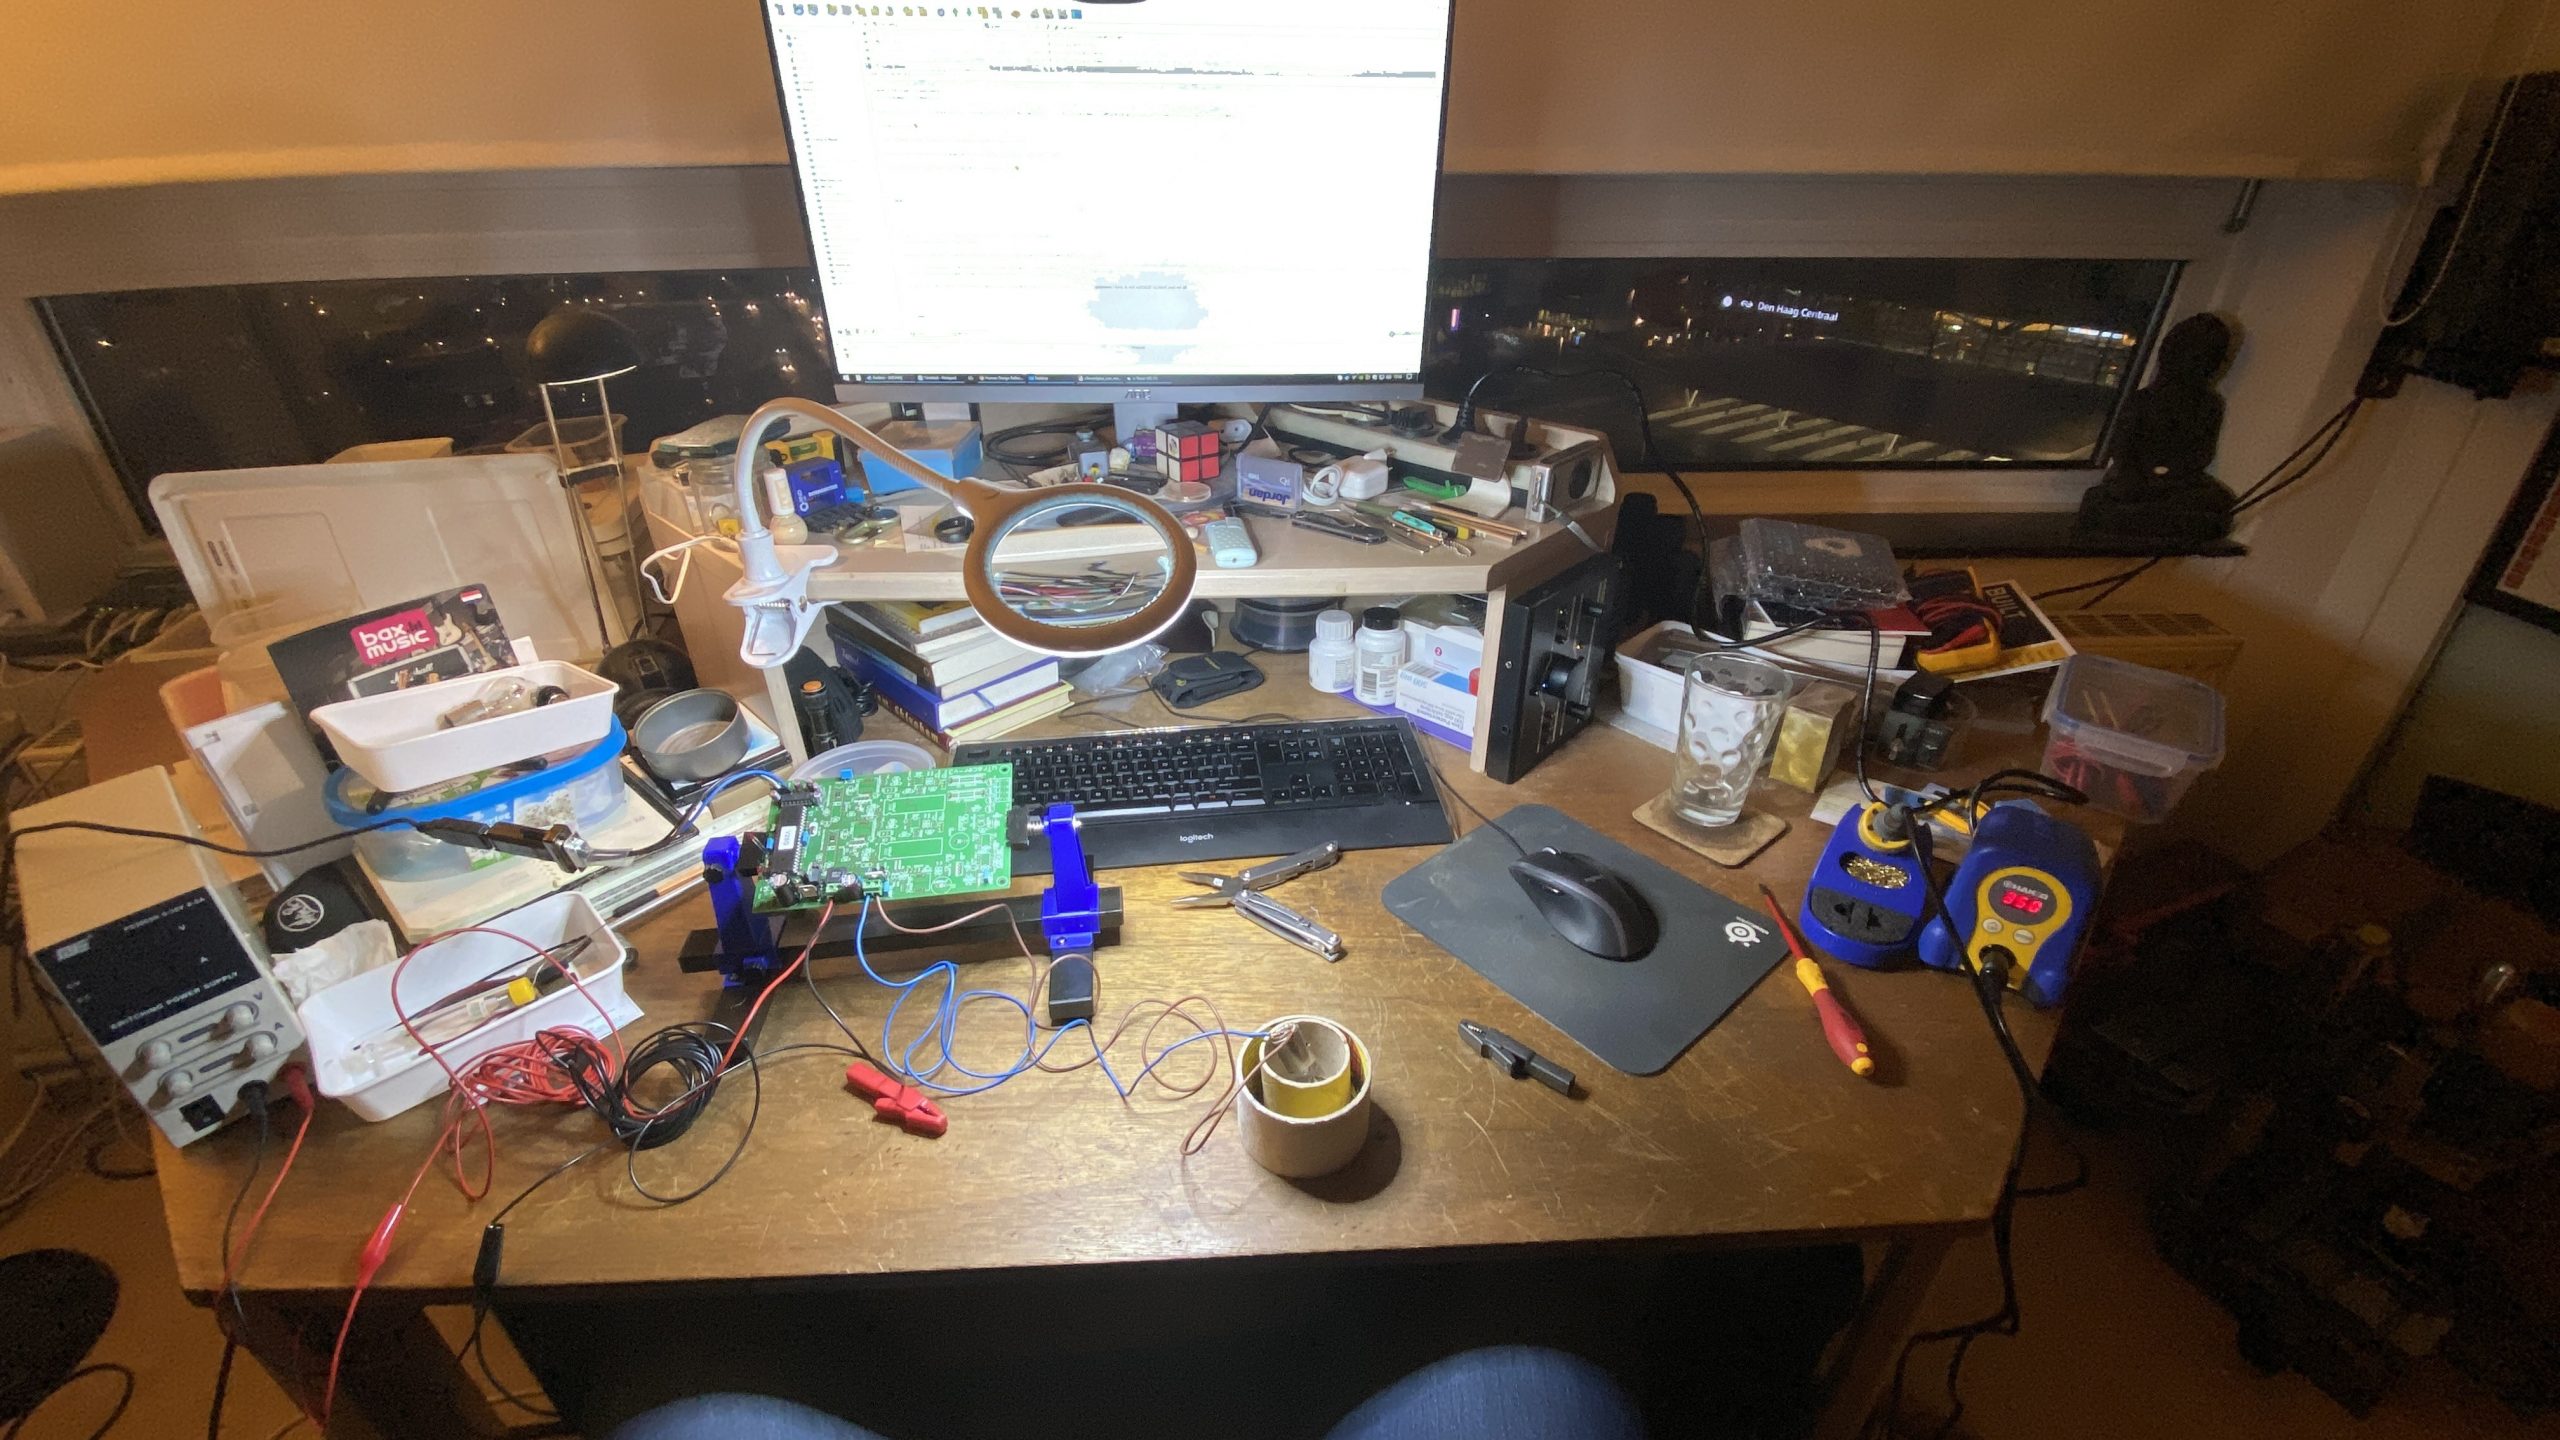
Part 1. the GUI testing
Part 2. RS232 connector cable construction
Part 2. RS232 connector cable testing
Part 3. voltage regulators construction
Part 3. voltage regulators testing
follow the whole build here: µTracer 3+ build
Read more
Part 4. RS232 interface construction
Part 4. RS232 interface testing
Part 5. micro controller construction
Part 5. micro controller testing
Part 5. micro controller calibration
follow the whole build here: µTracer 3+ build
Part 6. heater supply construction
Part 6. heater supply testing
Part 7. negative power supply construction
Part 7. negative power supply testing
follow the whole build here: µTracer 3+ build
Part 8. grid bias circuit construction
Part 8. grid bias circuit testing and calibration
measuring -12.64 Volt regardless of Calibration slider after making one mistake
I put D21 (HER108) in the spot of D12
during step C9 I found out (because I had 2 more items left instead of 1)
I unsoldered HER108 and put in D21 and then put the correct 1N5934 in D12
follow the whole build here: µTracer 3+ build
Part 9. current amplifiers construction
Part 9. current amplifiers testing
follow the whole build here: µTracer 3+ build
Part 10. boost convertors and HV switches construction
follow the whole build here: µTracer 3+ build
follow the whole build here: µTracer 3+ build
printed sticker drill template on polycarbonate
3mm through holes, 3.5x2mm sunk holes and 10mm through holes for Lorlin CK1029, 18.3mm through hole for 9 pin vacuum tube socket, 25mm through hole for 8 pin vacuum tube socket with 35x2mm sunk hole.
follow the whole build here: µTracer 3+ build